
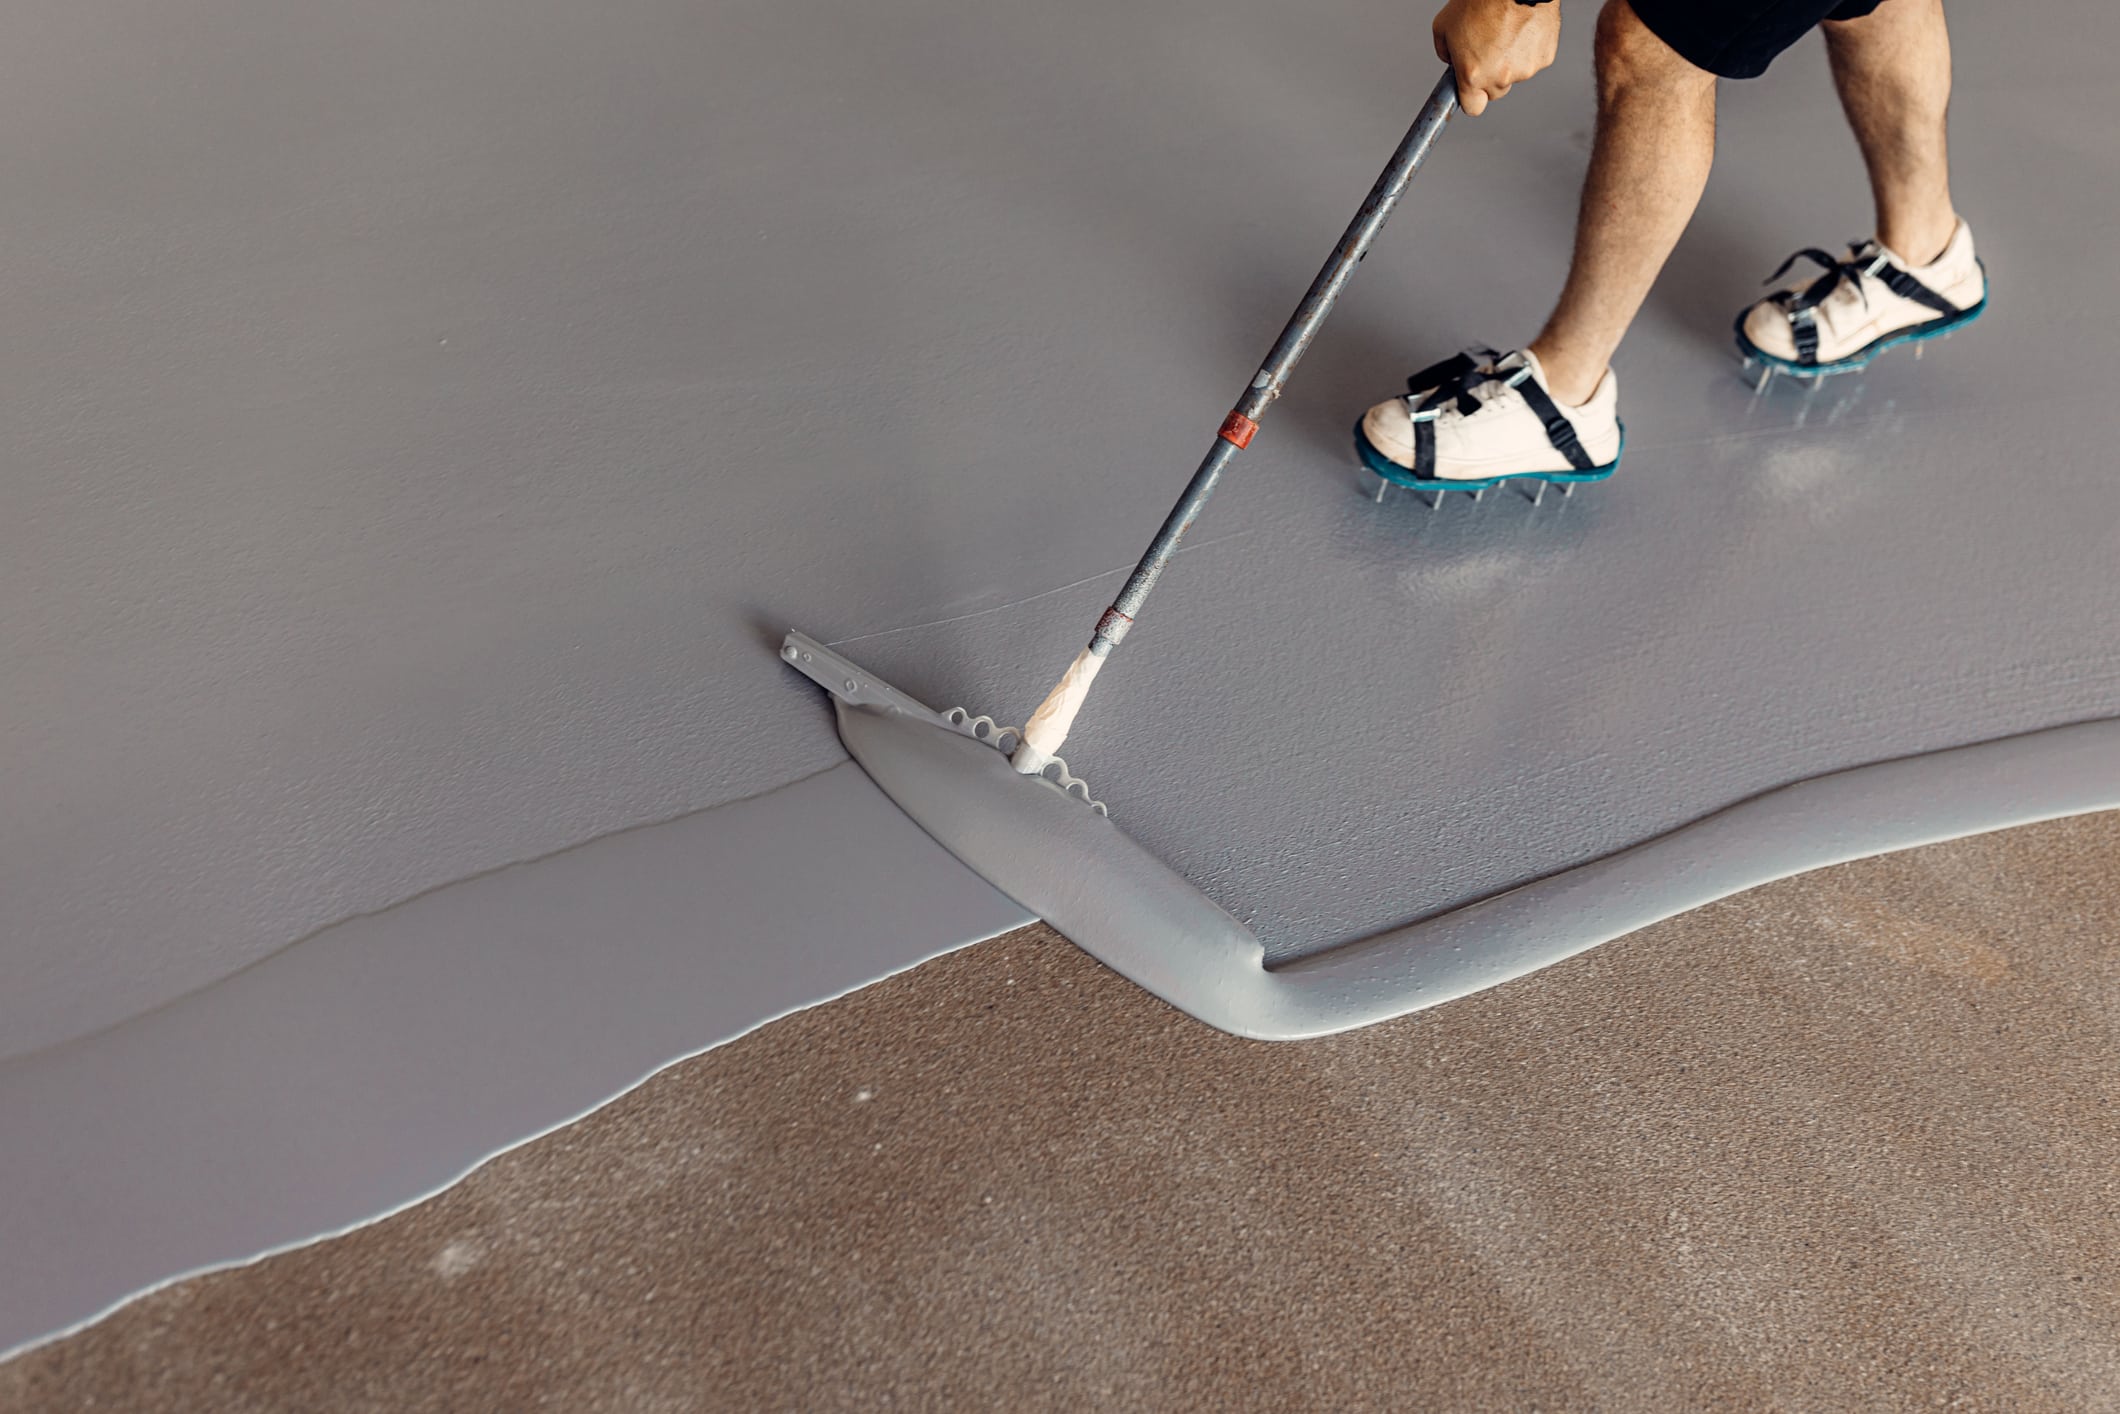
You can give your garage a fresh look with the right floor coatings while adding functionality and durability. Whether you want a sleek and modern finish or a colorful and vibrant one, floor coating options are endless.
Not only do coatings enhance your garage’s aesthetics, but they also offer practical benefits. It provides a protective layer that shields your floor from stains, spills, and damage, making cleaning a breeze. Additionally, it can improve safety by increasing traction and reducing the risk of slips and falls.
Consider investing in floor coating if you’re ready to transform your garage into a space you’ll love. Say goodbye to the drab and hello to the fab with this simple yet effective upgrade.
Advantages of floor coating
Floor coatings offer numerous advantages that can significantly enhance your garage space.
Firstly, floor coating provides durability and protection. The coating forms a strong barrier that shields your floor from chemicals, oil stains, and abrasions. This protective layer prevents damage and extends the lifespan of your garage floor.
Secondly, coatings improve safety. The coating is designed to increase traction, reducing the risk of slips and falls. This is especially important in a garage with standard spills and wet surfaces.
Thirdly, floor coating makes cleaning a breeze. The smooth, non-porous surface of the coating prevents dirt, dust, and stains from penetrating the floor. This means that a simple sweep or mop is all it takes to keep your garage floor looking clean and fresh.
Types of floor coatings
When it comes to floor coating, there are various options, each with its unique benefits.
Epoxy floor coating is one of the most popular choices. It is a highly durable and versatile option that can be customized to suit your style preferences. Epoxy coatings are available in various colors and finishes, allowing you to create a sleek, modern look or a more vibrant and colorful space.
Polyurethane coatings are another excellent option. It offers superior durability and chemical resistance, ideal for high-traffic areas. This type of coating is particularly well-suited for garages where chemical spills and heavy machinery are daily.
If you’re looking for a more budget-friendly option, acrylic floor coating is worth considering. Although not as durable as epoxy or polyurethane, acrylic coating still provides a protective layer and enhances the appearance of your garage floor.
Before applying floor coating to your garage, consider a few factors.
Firstly, you should evaluate the condition of your garage floor. If there are any cracks or imperfections, it’s essential to address them before applying the coating. This may involve repairing the floor or using a filler to level the surface.
Secondly, you should think about the climate and temperature in your area. Some types of floor coatings may not be suitable for extreme temperatures or high humidity. It’s crucial to choose a coating that is compatible with your climate to ensure its longevity.
Lastly, you should consider your budget and the level of maintenance you’re willing to commit to. While epoxy and polyurethane coatings are more expensive, they offer superior durability and require less maintenance. On the other hand, acrylic coatings are more affordable but may need to be reapplied more frequently.
A step-by-step guide to applying a floor coating
Applying floor coating to your garage may seem daunting, but with the proper preparation and guidance, it can be a straightforward process.
1. Prepare the surface: Thoroughly clean the garage floor to remove dirt, grease, or stains. Use a degreaser and scrub brush to ensure the surface is clean and contaminant-free. Allow the floor to dry completely before proceeding.
2. Repair imperfections: If there are any cracks or chips in the floor, use a concrete patching compound to fill them in. Smooth out the patched areas with a trowel and let them dry according to the manufacturer’s instructions.
3. Etch the floor: Creating a rough surface for better adhesion is essential if your garage floor is smooth and non-porous. Use an etching solution and a stiff brush to scrub the floor. Rinse thoroughly with water and allow it to dry.
4. Apply the primer: Apply a coat of primer to the entire garage floor using a roller or sprayer. Follow the manufacturer’s instructions regarding drying time and application techniques.
5. Apply the coating: Once the primer is dry, it’s time to apply it. Mix the coating according to the manufacturer’s instructions and pour it onto the floor. Use a roller or squeegee to spread the coating evenly, working in small sections. Apply multiple coats if necessary, allowing each coat to dry before applying the next.
6. Allow for curing time: After applying the final coat, allow the floor coating to cure for the recommended time. This usually takes several days, so avoid walking or driving on the floor during this period.
7. Enjoy your revitalized garage: Once the floor coating has fully cured, you can enjoy your transformed garage space. Move your belongings back in and marvel at the difference a simple coating can make.
Maintenance and care tips for coated floors
Regular maintenance is vital to keeping your coated garage floor in excellent condition.
Firstly, make sure to clean up any spills or stains promptly. Use a mild detergent and warm water to clean the affected area. Avoid harsh chemicals or abrasive cleaners, as they can damage the coating.
Secondly, vacuum your garage floor regularly to remove dirt and debris. This will prevent scratches and keep your floor looking clean and well-maintained.
Lastly, add floor mats or protective pads under heavy machinery or vehicles. This will help prevent any potential damage or wear on the coating.


