Are you tired of spending hours on your hands and knees, scrubbing your floors only for them to remain grimy and dull? If so, it’s time to step up your floor cleaning game with expert advice for a spotless finish. In this article, we will share practical tips and tricks from cleaning professionals to help you achieve clean and shiny floors that you can be proud of.
We will cover everything from choosing the right cleaning products to using the correct techniques. Whether you have hardwood, tile, laminate, or vinyl floors, our expert advice will provide the knowledge and guidance needed to transform your floors from dingy to divine.
Discover the secrets to removing stubborn stains, preventing future damage, and maintaining the long-term beauty of your floors. Say goodbye to dull and dirty floors and say hello to a fresh and inviting space. So, roll up your sleeves and prepare to take your floor cleaning game to the next level. Your floors will thank you!
Remember, achieving spotless floors is easier than you think with the right expertise, tools, and dedication. Get ready to make your floors shine like never before!
The importance of tile cleaning
Maintaining clean floors is not just about aesthetics. Regular floor cleaning is essential for creating a healthy and hygienic living environment. Floors can accumulate dirt, dust, allergens, and even bacteria over time. This can lead to respiratory issues, allergies, and other health problems, particularly for those with sensitivities. Additionally, dirty floors can be a breeding ground for pests like cockroaches and ants.
Regular floor cleaning also helps to preserve the lifespan of your flooring. Dirt and debris can cause scratches and wear down the protective layers of your floors. Keeping your floors clean can prevent unnecessary damage and extend their longevity.
To ensure the cleanliness and longevity of your floors, it’s essential to avoid standard floor cleaning mistakes.
Common floor cleaning mistakes to avoid
1. Using excessive water: While it’s essential to use water for cleaning, using too much water can damage certain types of flooring, such as hardwood and laminate. Excess water can seep into the floorboards, causing warping, discoloration, and mold growth. Be sure to wring out mops and cleaning cloths thoroughly before use.
2. Neglecting to sweep or vacuum: Before mopping, remove loose dirt, dust, and debris by sweeping or vacuuming the floor. Failure to do so can result in scratches and a less effective cleaning process.
3. Using harsh or abrasive cleaners: Some cleaning products contain chemicals that can be too harsh for certain types of flooring. Always check the manufacturer’s instructions and use cleaners specifically designed for your flooring type. Avoid using abrasive scrub brushes or scouring pads that can scratch and damage the surface.
By avoiding these common mistakes, you can ensure that your floor cleaning efforts are effective and safe for your flooring.
Essential tools and equipment for effective floor cleaning
Having the right tools and equipment is crucial for achieving a spotless finish. Here are the essential items you’ll need for effective floor cleaning:
1. Broom or vacuum cleaner: A broom or vacuum cleaner is essential for removing loose dirt and debris before mopping. Choose a broom or vacuum cleaner suitable for your flooring type to avoid scratching or causing damage.
2. Microfiber mop or cleaning cloth: Microfiber mops and cleaning cloths are highly effective at picking up dirt, dust, and grime without leaving behind streaks or residue. They are gentle on most flooring surfaces and can be easily washed and reused.
3. Bucket or mop bucket system: A bucket or mop bucket system is necessary for diluting cleaning solutions and wringing out mops. Consider using a mop bucket system with separate compartments for clean and dirty water to avoid spreading dirt back onto the floor.
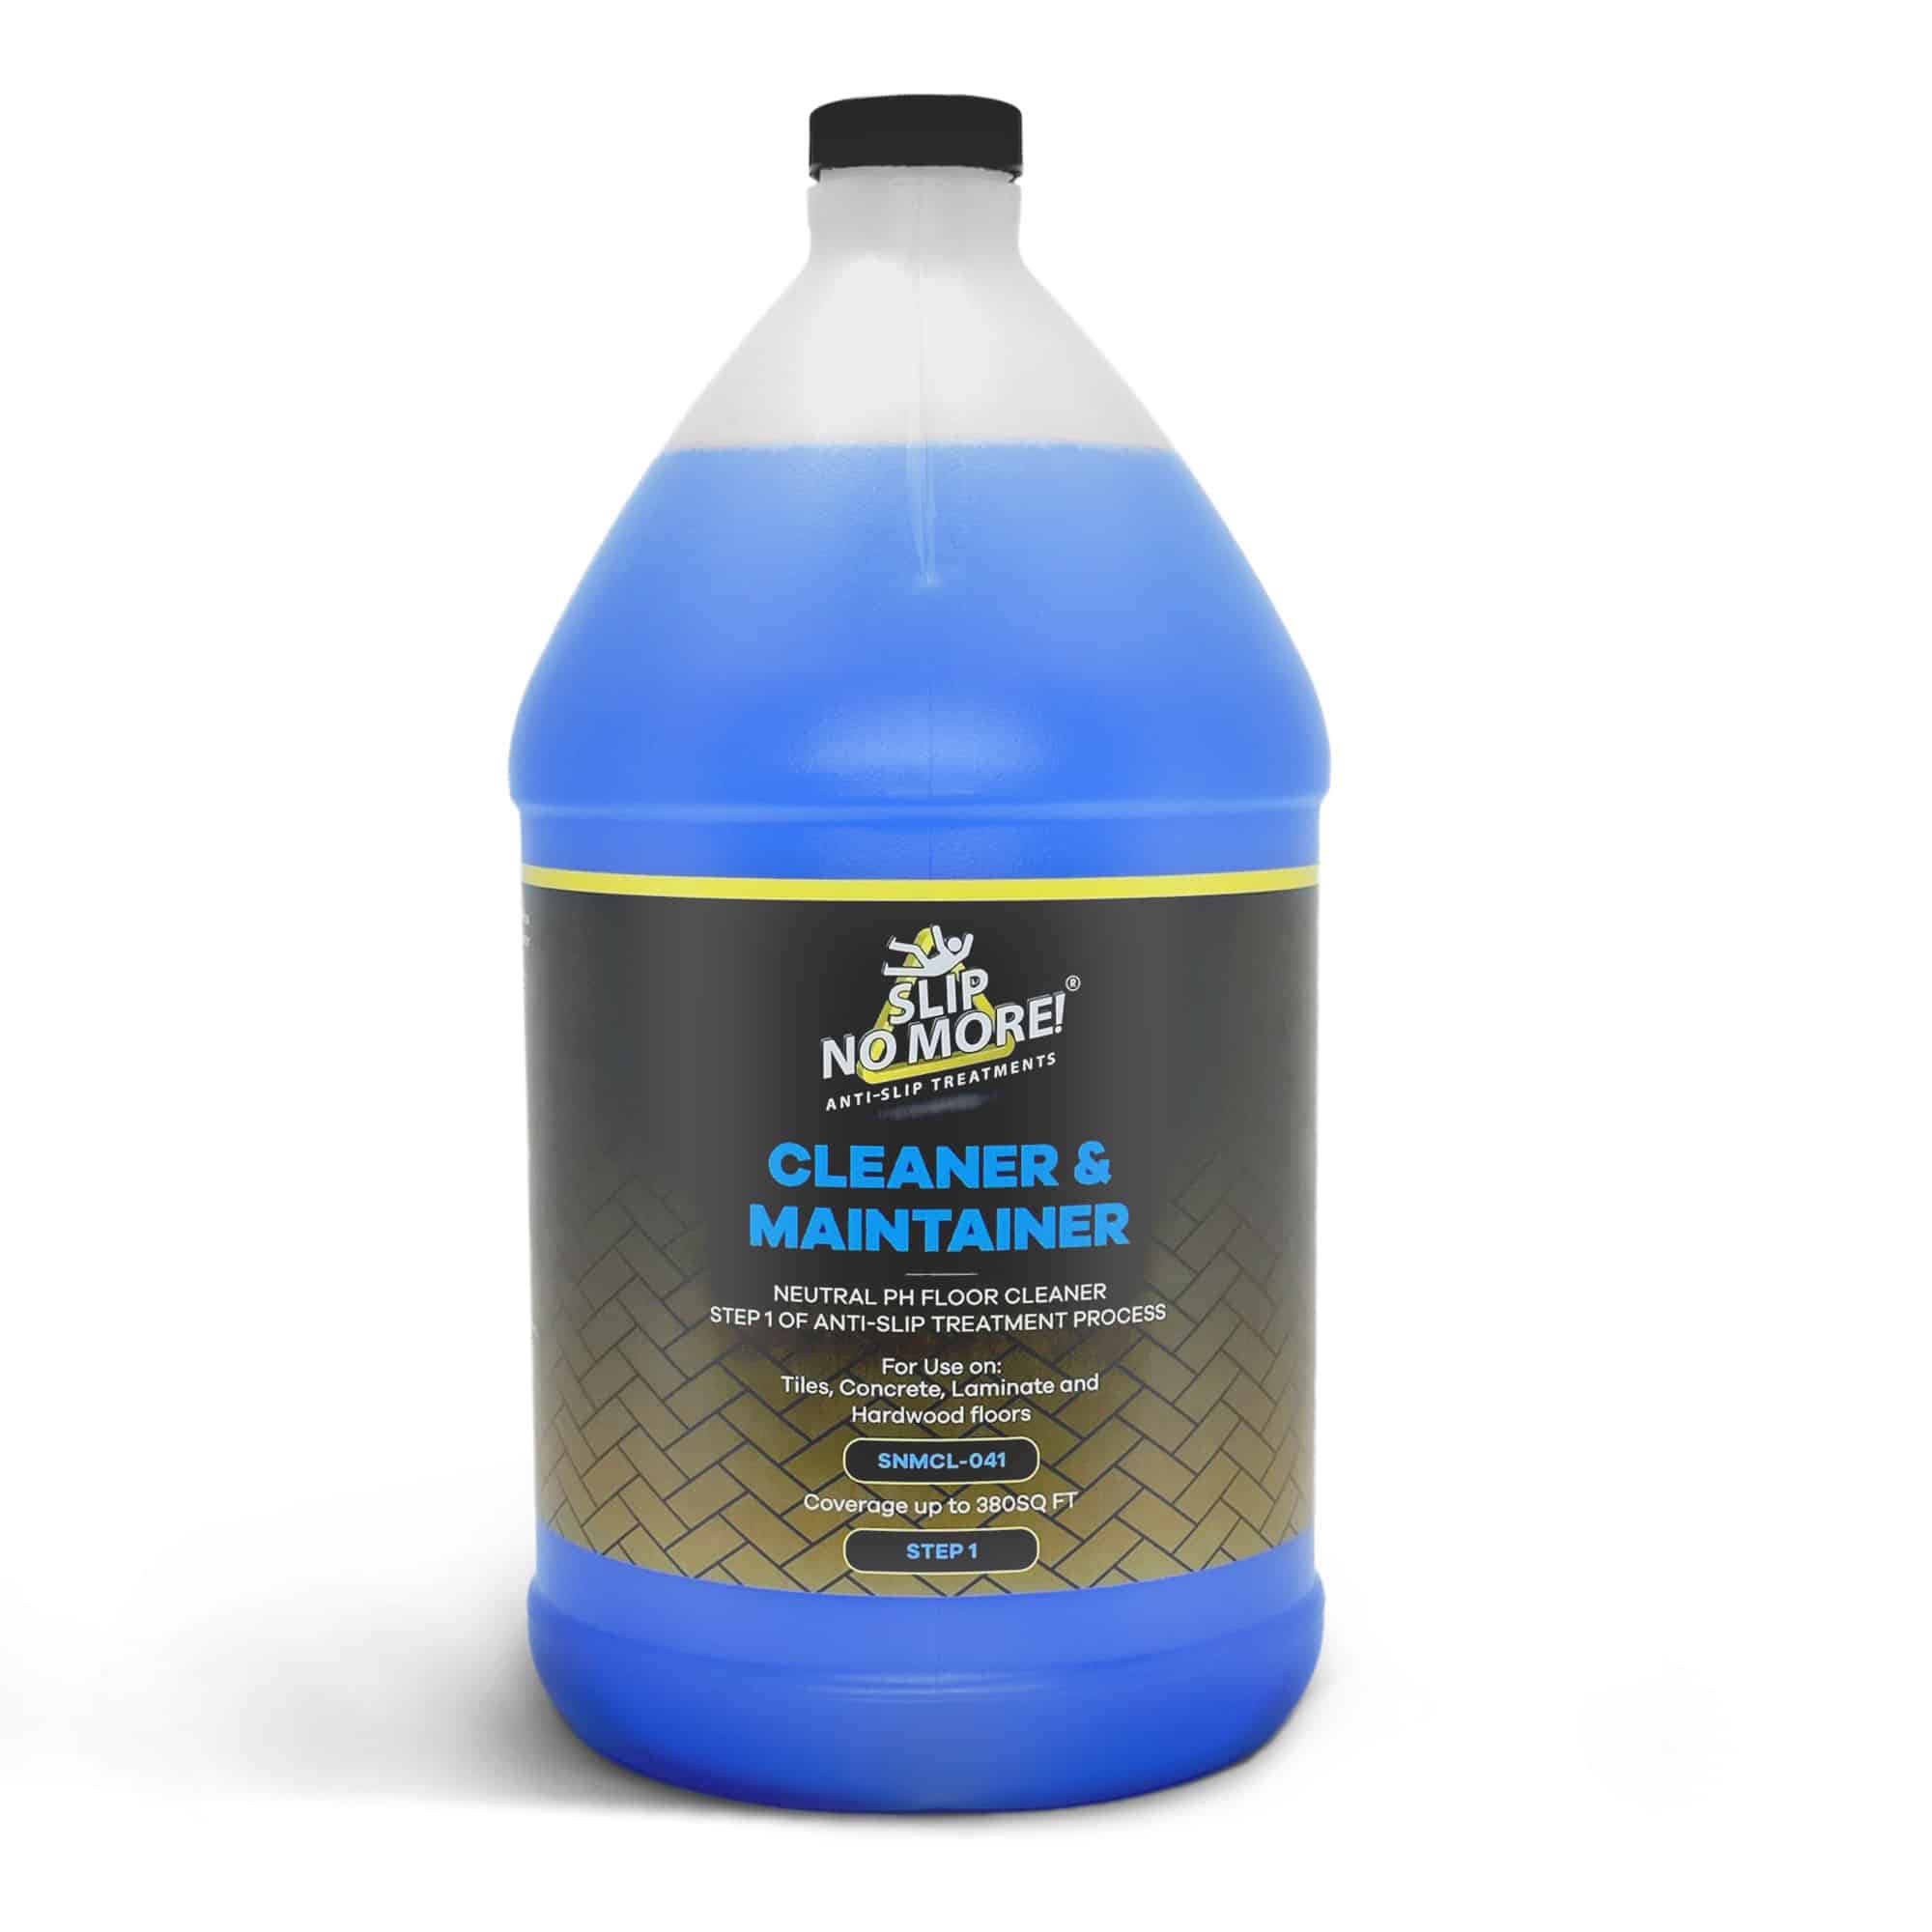
4. Floor cleaner: Choose a floor cleaner specifically formulated for your flooring type. Different types of flooring require different cleaning solutions. For example, hardwood floors require a gentle and pH-neutral cleaner, while tile floors may benefit from a more heavy-duty cleaner.
With these essential tools and equipment, you’ll be well-equipped to tackle any floor-cleaning task.
Choosing the right cleaning products for different types of flooring
Choosing the right cleaning products is crucial for achieving a spotless finish without causing damage to your floors. Here are some guidelines for selecting the appropriate cleaning products for different types of flooring:
1. Hardwood floors: Hardwood floors require special care to maintain their natural beauty. Use a hardwood floor cleaner specifically formulated for this type of flooring. Avoid using excessive water or abrasive cleaners that can strip away the protective finish.
2. Tile floors: Tile floors are durable and can withstand more heavy-duty cleaners. Look for a tile and grout cleaner to remove stains and grime effectively. Be careful not to use acidic cleaners on natural stone tiles, which can cause etching and damage.
3. Laminate floors: Laminate floors are sensitive to excessive moisture, so it’s essential to use a cleaner specifically designed for laminate flooring. Avoid using steam cleaners or excessive water, as they can cause the laminate to warp or swell.
4. Vinyl floors: Vinyl floors are relatively low-maintenance and can be cleaned with a mild detergent or vinyl floor cleaner. Avoid using abrasive or ammonia-based cleaners that can dull the finish.
By choosing the right cleaning products for your specific flooring type, you can ensure effective cleaning without compromising the integrity of your floors.
Step-by-step cleaning process
Now that you have the right tools and cleaning products let’s dive into the step-by-step floor cleaning process:
1. Clear the floor: Remove any furniture or obstacles from the area you plan to clean. This will allow you to clean more thoroughly and prevent any accidental damage.
2. Sweep or vacuum: Use a broom or vacuum cleaner to remove loose dirt, dust, and debris from the floor. Pay attention to corners, edges, and hard-to-reach areas.
3. Pre-treat stains and spills: If you have any stubborn stains or spills on your floor, pre-treat them before mopping. Follow the instructions on the stain remover or cleaner and allow it to sit for a few minutes to break down the stain.
4. Prepare the cleaning solution: Dilute the appropriate amount of floor cleaner in a bucket or mop bucket system according to the manufacturer’s instructions. Use warm water for most cleaning solutions unless otherwise specified.
5. Start mopping: Dip your mop or cleaning cloth into the cleaning solution and wring out any excess liquid. Begin mopping the floor, starting from one corner and working towards the exit. Use a figure-eight motion to cover the entire area and avoid spreading dirt from one section to another.
6. Rinse and wring out the mop: Regularly rinse the mop or cleaning cloth in the cleaning solution and wring out any excess liquid. This will ensure you are not spreading dirt or residue across the floor.
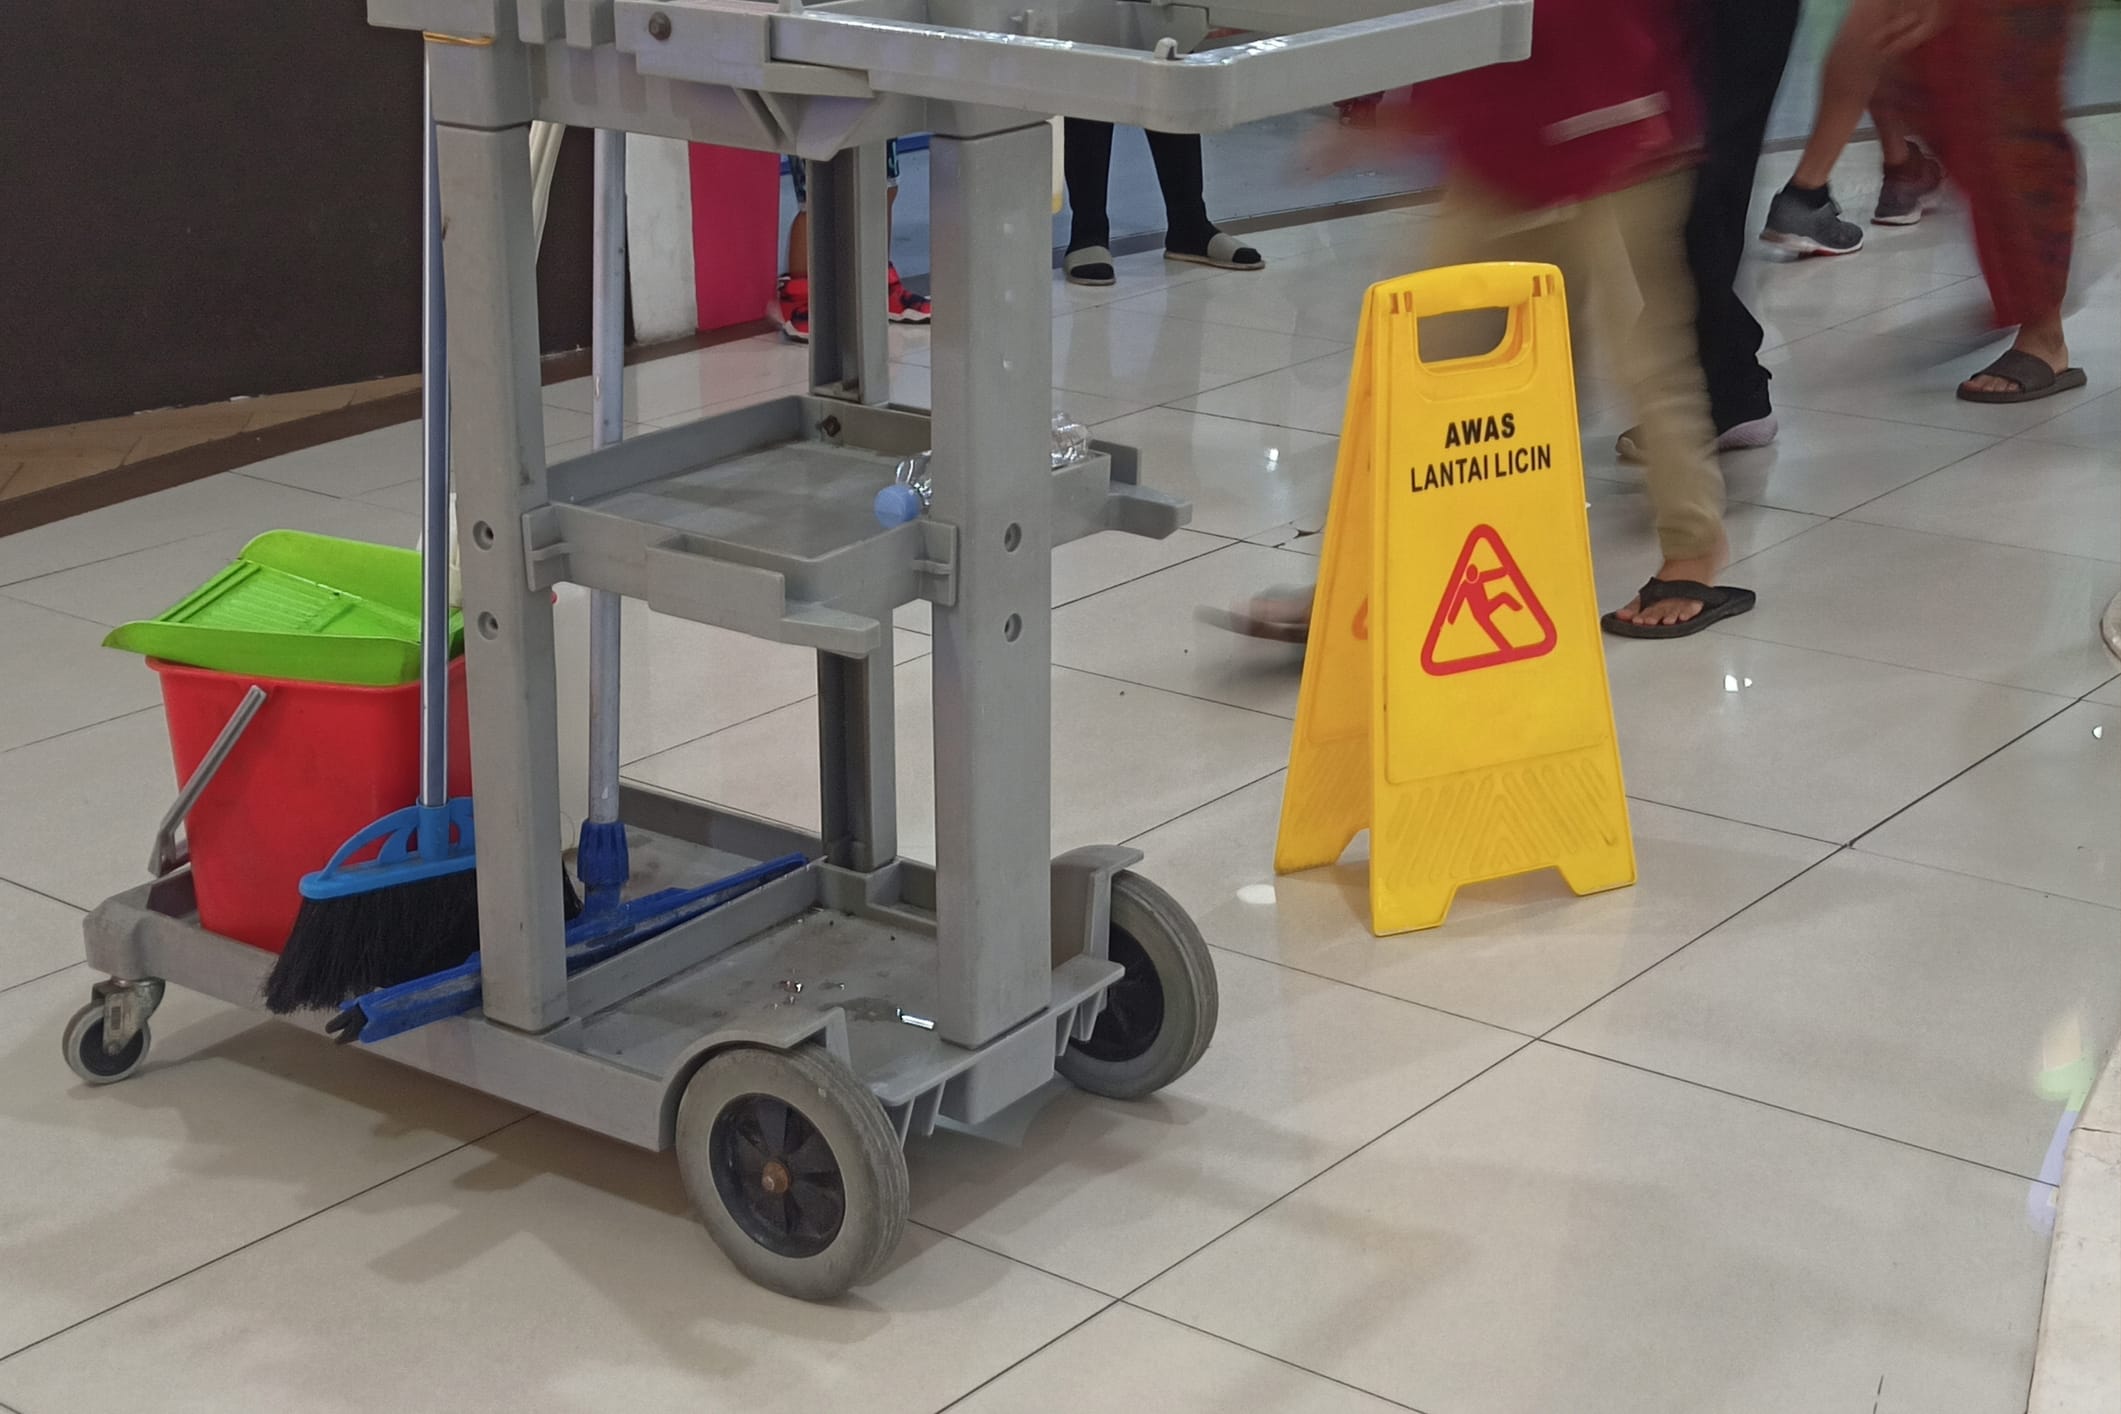
7. Dry the floor: After mopping, allow the floor to air dry or use a clean mop or cloth to remove any excess moisture. Avoid walking on the floor until it is scorched to prevent slipping or leaving footprints.
By following this step-by-step process, you can thoroughly and effectively clean your floors.
Tips for removing tough stains and spills
Even with regular cleaning, tough stains and spills can occasionally occur. Here are some tips for removing common stains and spills from different types of flooring:
1. Red wine or juice stains: Blot the stain with a clean cloth to remove as much liquid as possible. Mix warm water and mild detergent, and gently scrub the stain with a soft brush or cloth. Rinse thoroughly and dry the area.
2. Grease or oil stains: Sprinkle baking soda or cornstarch over the stain and let it sit for a few minutes to absorb the grease. Use a soft brush or cloth to scrub the stain, then rinse and dry the area.
3. Ink or marker stains: Apply a small amount of rubbing alcohol or nail polish remover to a clean cloth and gently blot the stain. Be careful not to rub too vigorously, which can spread the ink. Rinse and dry the area.
4. Pet accidents: Blot the area with a clean cloth to remove as much liquid as possible. Mix a solution of warm water and enzymatic pet stain remover and apply it to the stain. Let it sit for the recommended time, then blot and rinse thoroughly.
Always test any cleaning solution or stain remover in an inconspicuous area before applying it to the entire stain.
Maintaining and preserving the cleanliness of your floors
Once you have achieved spotless floors, it’s essential to maintain their cleanliness and preserve their beauty. Here are some tips for maintaining and preserving the cleanliness of your floors:
1. Establish a regular cleaning routine: Set a schedule for regular floor cleaning based on the amount of foot traffic and the specific needs of your flooring type. Consistent cleaning will prevent dirt and grime from building up, making cleaning more difficult.
2. Use doormats or rugs: Place doormats or rugs at entryways to trap dirt and debris before it reaches your floors. This will reduce the amount of dirt tracked onto your floors and make cleaning easier.
3. Implement a no-shoes policy: Encourage family members and guests to remove their shoes upon entering your home. Shoes can track in dirt, oil, and other substances that can quickly soil your floors.
4. Wipe up spills immediately: Promptly clean up any spills or messes to prevent them from seeping into your floors and causing stains or damage. Use a clean, absorbent cloth to blot the spill and avoid rubbing, as this can spread the liquid.
5. Trim pets’ nails: If you have pets, trim their nails to prevent scratches on your floors. Place rugs or mats in areas where pets frequently walk or play to protect the flooring.
These maintenance tips let you keep your floors looking clean and beautiful for years.
Professional floor cleaning services vs. DIY cleaning
While regular DIY floor cleaning can help maintain the cleanliness of your floors, there are instances where professional floor cleaning services may be beneficial. Here are some factors to consider when deciding between DIY cleaning and hiring professionals:
1. Time and effort: DIY floor cleaning requires time, effort, and physical exertion. Hiring professionals can save you valuable time and energy if you have a busy schedule or physical limitations.
2. Expertise and equipment: Professional floor cleaning services have specialized knowledge, experience, and equipment to tackle even the toughest floor cleaning tasks. They can often achieve superior results compared to DIY cleaning.
3. Deep cleaning and restoration: If your floors have deep-seated stains, grime, or damage, professional floor cleaning services can provide deep cleaning and restoration services that may not be achievable with DIY methods.
4. Cost considerations: DIY cleaning is generally more cost-effective in the short term. However, if you factor in the cost of cleaning products, equipment, and your time, professional services may offer a better long-term value.
Consider your specific needs, budget, and the condition of your floors when deciding between DIY cleaning and professional services.
Eco-friendly floor cleaning options
If you’re concerned about the environmental impact of traditional cleaning products, eco-friendly alternatives are available. Here are some eco-friendly floor cleaning options to consider:
1. Vinegar and water solution: Mix equal parts of white vinegar and water to create a natural cleaning solution. Vinegar has mild disinfectant properties and can effectively clean many types of flooring.
2. Baking soda paste: Mix baking soda with a small amount of water. Apply the paste to stains or dirty areas, and gently scrub with a soft brush or cloth. Rinse thoroughly and dry the area.
3. Natural floor cleaners: Look for commercially available floor cleaners labeled as eco-friendly or made from natural ingredients. These cleaners are formulated to be safer for the environment while still effectively cleaning your floors.
By opting for eco-friendly floor cleaning options, you can reduce exposure to harmful chemicals and minimize environmental impact.
Conclusion: Achieving a spotless finish for your floors
Acquiring spotless floors is easier with the right expertise, tools, and dedication. Following the expert advice shared in this article, you can step up your floor cleaning game and transform your floors from dingy to divine.
Remember the importance of regular floor cleaning for maintaining a healthy living environment and preserving the longevity of your floors. Avoid standard floor cleaning mistakes, choose the right cleaning products for your flooring type, and follow a step-by-step cleaning process for optimal results.
If you encounter tough stains or spills, use the recommended tips and techniques to remove them effectively. Maintain the cleanliness of your floors by establishing a regular cleaning routine, using doormats or rugs, and promptly dealing with spills or messes.
Consider the benefits of professional floor cleaning services for deep cleaning and restoration needs. If you prefer eco-friendly options, explore natural cleaning solutions or commercially available environmentally friendly floor cleaners.
By implementing these expert tips and tricks, you can achieve a spotless finish for your floors and create a fresh and inviting space that you can be proud of. So, roll up your sleeves and prepare to take your floor cleaning game to the next level. Your floors will thank you!
Remember, achieving spotless floors is easier than you think with the right expertise, tools, and dedication. Get ready to make your floors shine like never before!
Types of slip prevention products
Four main categories of injury prevention products increase the safety of your floors. When selecting slip-prevention products, always ask a specialist who can guide you. There are different types of slippery floors.
Anti-Slip Treatments: These products are the best defense against slippery tiles. They are a sure way to increase the safety of your tiles. Used indoors and outdoors, they last for years. An important note is that they only work on unsealed tiles.
Non-Slip Coatings: Perfect for high-traffic and low-traffic areas. Always choose the right product for your use.
Anti-Slip Tape: A versatile product that is used on stairs and ramps. Anti-slip tape is excellent indoors and outdoors and works on many different surfaces.
Cleaning and Maintenance Products: These products should be of the highest quality. Be sure to check the cleaning recommendations of the floor safety products that you have installed.
About Slip No More
With more than 15 years of experience in the slip-prevention industry, our products solve the problem of slippery floors in all areas. Specializing in floor safety, the company has become synonymous with reliable solutions for preventing slips and falls.
Slip No More offers various anti-slip products designed for different surfaces.
As part of our global expansion strategy, we actively engage with our audience on various social media platforms. Slip No More maintains a strong presence on platforms like Facebook, Instagram, Twitter, Linked In, and YouTube. We love connecting with customers and sharing valuable insights on safety measures. This strategic use of social media fosters brand awareness and allows us to interact directly with our diverse customer base.
If you found this article helpful, take a look at our related articles: